

Overview
You are setting up Klarity Architect for your organisation and need to configure SSO so your users can log in with their company credentials. Klarity offers a self-serve SSO setup — a fully guided, in-product wizard that walks you through the configuration end to end. You may be using Microsoft Entra ID (Azure AD), Okta, Google Workspace, PingFederate, or any other SAML 2.0 / OIDC provider. SSO is not enabled by default. It must be configured once in your identity provider and once on the Klarity side. With self-serve setup, you complete both sides yourself through a guided wizard you open from a setup link we email you — no manual back-and-forth with Klarity support is required.Prerequisites
Elect one individual to run the SSO setup with Klarity for your organisation. Before that person begins, make sure they have:-
Admin access to your organisation’s identity provider. Klarity’s setup flow supports any IdP that speaks SAML 2.0. Explicitly tested and guided paths:
- Microsoft Entra ID (Azure AD)
- Okta
- Google Workspace
- PingFederate (via the Generic SAML 2.0 path)
- Any other SAML 2.0 IdP (via the Generic SAML 2.0 path)
-
The list of email domains they want to enable SSO for (for example,
company.com).
Step 1: Check your inbox for the SSO setup email
Search your inbox for an email with the subject “Set up SSO for [your domain] on Klarity”, sent from Klarity Architect (architect@klarity.ai).
The email contains a “Set up SSO for [your domain]” button that opens the admin portal and connects your identity provider. The button works for 7 days — if you don’t finish in one sitting, just reopen the email and click it again to pick up exactly where you left off.
![The automated 'Set up SSO for [your domain] on Klarity' email from Klarity Architect, containing the setup button that opens the admin portal to connect your identity provider.](https://mintcdn.com/klaritydocs/DwR5eZxX8wkIxXNK/images/sso-setup-email.png?fit=max&auto=format&n=DwR5eZxX8wkIxXNK&q=85&s=2a574792c2eabef246a0649e910632b7)
Step 2: Click the setup link and complete the guided wizard
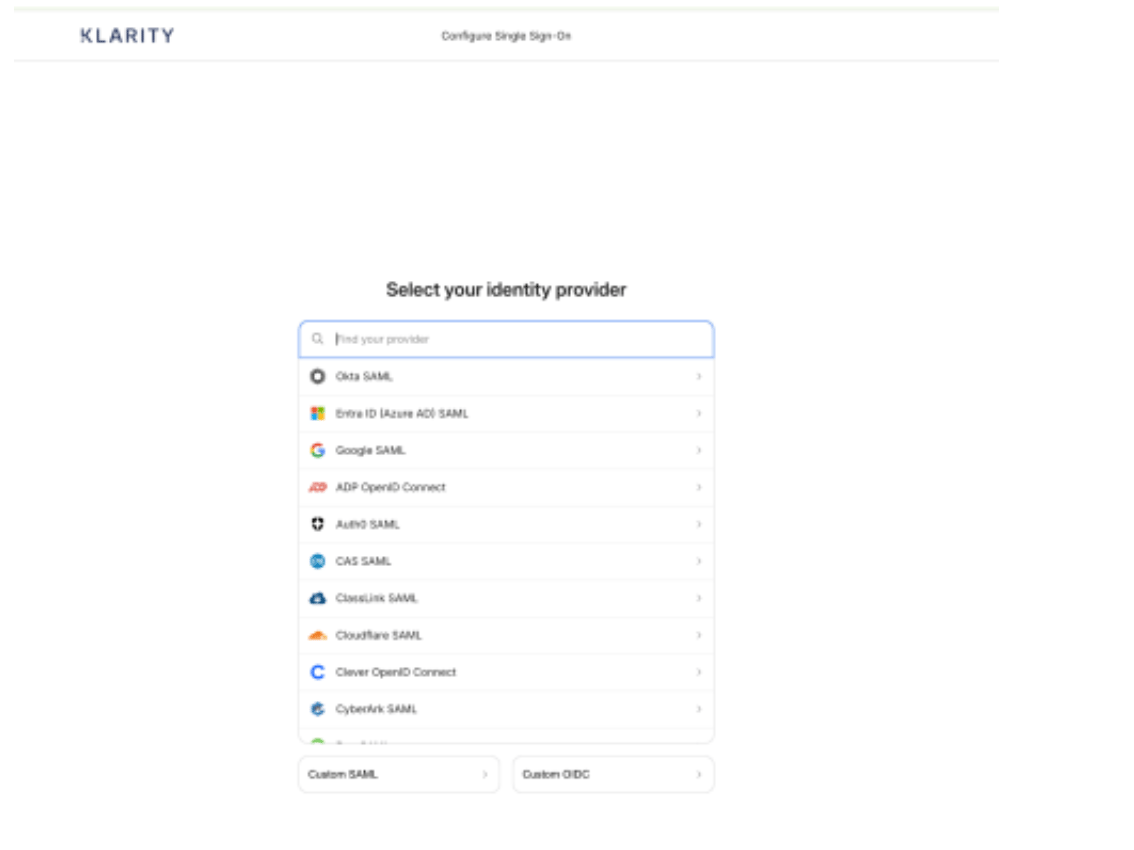
Clicking the “Set up SSO for [your domain]” button opens our SSO setup experience — a fully guided flow that walks you through each step one by one:- Select your identity provider from the list (Okta SAML, Entra ID / Azure AD SAML, Google SAML, and many more), or choose Custom SAML or Custom OIDC for any provider not listed.
- Follow the provider-specific, in-wizard instructions to create the integration in your IdP. For Okta SAML, for example: create a SAML integration, submit application feedback, set the IdP metadata, configure SAML attributes, assign groups, and test.
- Complete each step in sequence. At the end, your SSO connection is configured and your users can log in to Klarity with your organisation’s SSO.
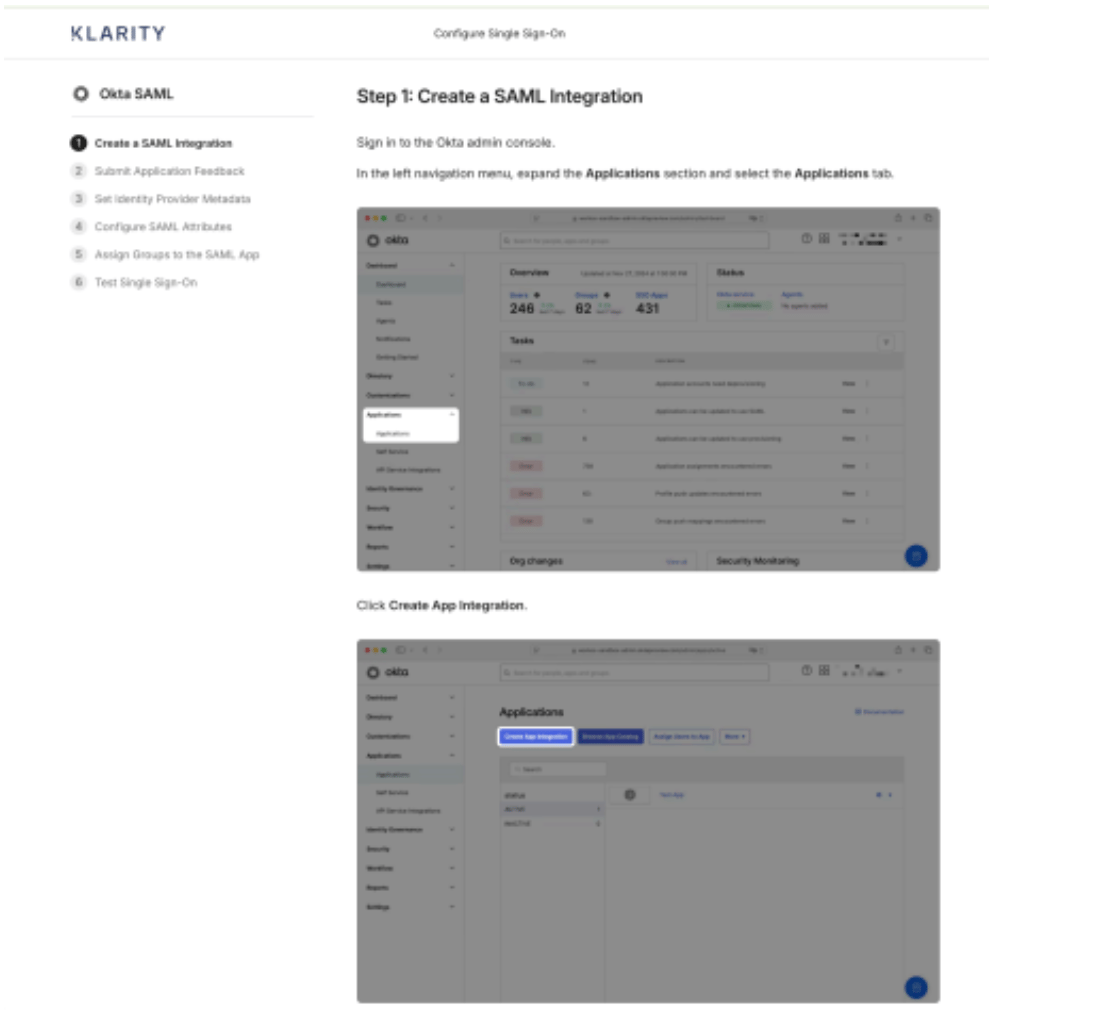
Klarity supports all the identity providers listed above. The wizard adapts its instructions to the provider you select.
Step 3: Test your SSO connection
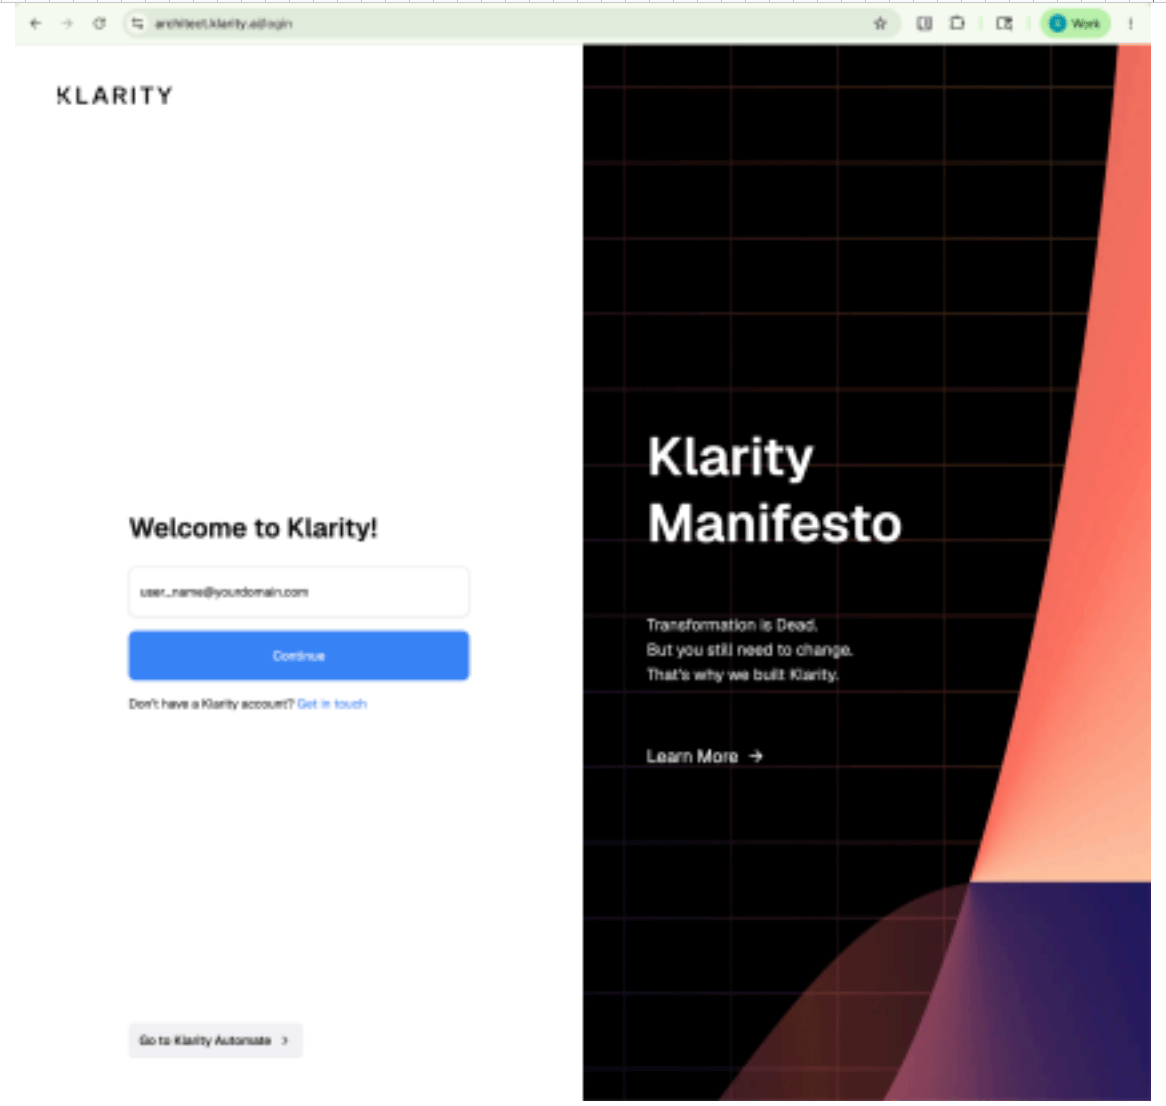
- Go to
app.klarity.aiand enter your email.- This is a validation test — even if the email belongs to a new user who isn’t yet part of Klarity, the redirection will still work.
- Klarity redirects you to your organisation’s SSO and logs you in.
When to contact support
Contact support if:- You don’t receive the SSO setup email, or the setup link has expired.
- Your identity provider isn’t listed and you’re unsure whether to use the Generic SAML 2.0 or Custom OIDC path.
- The connection test fails or your users can’t log in after setup.
When you contact support, include: your organisation name, the domain being configured, your IdP type, and a screenshot of the error, if any.
Frequently asked questions
What will our end users notice?
What will our end users notice?
Nothing, once the connection is re-established. They continue to sign in through your SSO exactly as they do today. MFA and session policies remain governed by your IdP.
How long does the setup take?
How long does the setup take?
The guided setup typically takes 15–20 minutes for someone with the right access. The main lead time is usually your internal intake/approval process.
Is there any downtime?
Is there any downtime?
No. We coordinate the cutover with your IT contact to keep the switch seamless — users with active sessions are unaffected, and new logins flow through the new connection once it’s validated.
Who handles MFA?
Who handles MFA?
Your identity provider, exactly as today. Klarity adds no additional MFA layer on top of your SSO.
Will we lose any data, settings, or permissions?
Will we lose any data, settings, or permissions?
No. Workspaces, processes, documents, roles, and permissions are untouched. Only the authentication connection changes.
What if we run into an issue during setup?
What if we run into an issue during setup?
Reach out to your Klarity customer success manager or support@klarity.ai with your organization name, the domain being configured, your IdP type, and a screenshot of the error — we can re-issue the setup link or restart the configuration at any time.